


03 Mar DIY Reusable Beeswax Wraps
Today we’re saying goodbye to plastic wrap and hello to an eco-friendly alternative! 🌱 In just a few minutes, you can make yourself the cutest DIY Reusable Beeswax Wraps. Just wait to see how they turn out! (btw… big shoutout to @reshgala for inspiration for this project!)
Beeswax wraps are a great way to cut down on waste in the kitchen and avoid exposure to microplastics, which is always a good thing. Naturally tacky and flexible, just think of all the clever ways you can use them…
- Hug the shape of your sliced fruit or veg and create a seal that keeps it fresher for longer.
- Fold them into a little pouch and fill with dry snacks, chips or nuts to take to school or the office.
- Cover glass bowls and containers with a nice, tight seal to keep food in the fridge fresh.
- Create a portable pocket filled with tasty dog treats to take with you on your next walk with your furry BFF.
- You can even use beeswax wraps as a grip to help open a stubborn jar lid!
And the best part? You can make these little beauties yourself, with a few basic supplies and a bit of know-how. And you don’t have to be a crafting expert to pull it off.
Ready to get started? Scroll down to learn everything you need to make these adorable beeswax wraps.
- Wash, dry, and iron your cotton fabric. It needs to be nice and smooth for the wax to soak in properly.
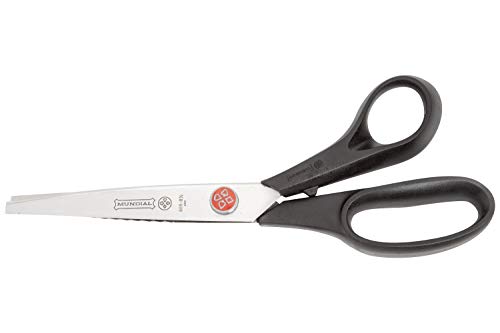
- Cut your perfect wrap shape using pinking shears (the zigzag edge prevents fraying, plus it looks cute!). For round shapes, trace a bowl or lid before cutting to make this step easier.
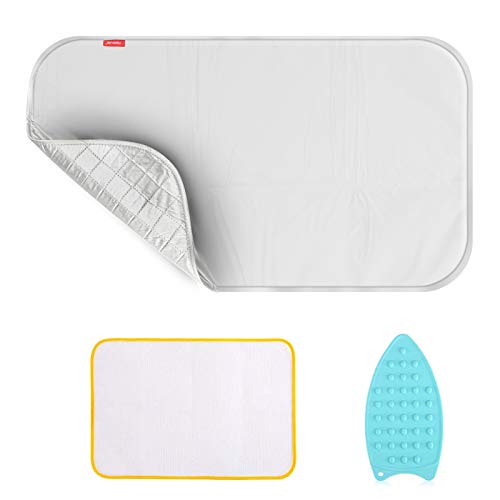
- Cover the bottom of your iron with aluminum foil to keep wax from sticking to it. Set the iron to a high setting (cotton/linen) and let it warm up.
- Lay down some rags or old towels on your table to protect the surface.
- Place an oversized sheet of parchment paper onto the rags. Then set your fabric onto the paper.
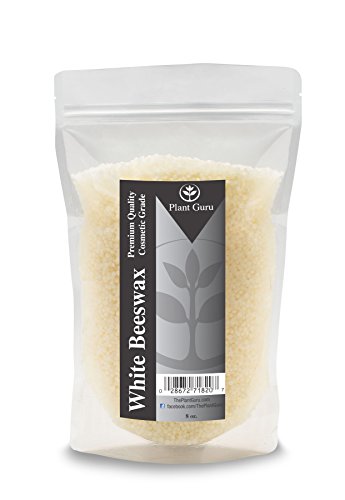
- Now, scatter beeswax pellets onto the fabric. Don’t go overboard, just enough to cover the surface lightly. Then, sandwich the fabric in the parchment paper.
- Place your iron on top of the parchment paper and watch the magic happen. Within seconds, the beeswax will melt into the fabric. Move the iron gently around the fabric to help the wax spread evenly.
- Carefully peel off the parchment paper and quickly grab your new beeswax wrap. Flap it in the air a few times to cool it down (it hardens quickly, so work fast!).
Care Tips: Hand wash your beeswax wraps with a little dish soap and cool water only. (Since these can’t be cleaned with hot water due to wax melting, it’s not safe to use them with meat, fish, or eggs.) Let them air dry completely, and you’re all set to reuse them again and again. As long as you look after them, they can last up to two years. They’re even safe in the freezer for up to 30 days.
These wraps are so quick to do, so fun to customize, and so many uses – it’s hard to make just one! 🐝🐝🐝
Supplies List to Make DIY Reusable Beeswax Wraps


No Comments